- English
- Español
- Português
- русский
- Français
- 日本語
- Deutsch
- tiếng Việt
- Italiano
- Nederlands
- ภาษาไทย
- Polski
- 한국어
- Svenska
- magyar
- Malay
- বাংলা ভাষার
- Dansk
- Suomi
- हिन्दी
- Pilipino
- Türkçe
- Gaeilge
- العربية
- Indonesia
- Norsk
- تمل
- český
- ελληνικά
- український
- Javanese
- فارسی
- தமிழ்
- తెలుగు
- नेपाली
- Burmese
- български
- ລາວ
- Latine
- Қазақша
- Euskal
- Azərbaycan
- Slovenský jazyk
- Македонски
- Lietuvos
- Eesti Keel
- Română
- Slovenski
- मराठी
- Srpski језик
How to Use Crayons to Add Color and Personality to Your Embroidered Fabric
2024-11-11
When we think of embroidery, vibrant threadwork typically comes to mind. However, crayons can add a surprising and delightful pop of color to embroidered fabrics. This easy, creative method allows you to personalize your designs in a whole new way. Here’s a step-by-step guide to coloring your embroidery with crayons for a soft, beautiful finish.
Why Use Crayons to Color Embroidery?
Using crayons to color embroidered fabric creates a unique effect that combines coloring and stitching. The colors from crayons can add depth and shading, allowing you to enhance your embroidery without the need for extra thread colors. It’s an excellent technique for adding a vintage or watercolor effect to your designs, and it’s fun, budget-friendly, and simple enough for beginners.
Materials You’ll Need
- Embroidered fabric (pre-washed and ironed)
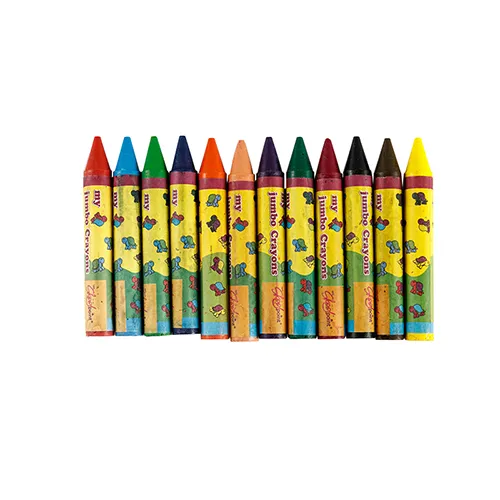
- Crayons (any brand, but high-quality crayons may give better results)
- White paper or a thin cloth
- Iron
- Embroidery hoop (optional but helpful for stability)
- Textile medium (optional, for added durability)
Step-by-Step Guide to Using Crayons on Embroidered Fabric
Step 1: Prepare Your Fabric
Make sure your embroidered fabric is clean and ironed flat. Any creases can disrupt the coloring process and lead to uneven application. You may also want to use an embroidery hoop to keep the fabric taut, which makes coloring easier and more precise.
Step 2: Choose Your Crayon Colors
Pick crayons in the shades you want to use for coloring your design. Don’t be afraid to get creative with blending and layering colors. Choose softer colors for a subtle effect or brighter colors for a more striking look. Keep in mind that crayon colors often appear bolder on fabric than on paper, so start with a light touch.
Step 3: Start Coloring the Fabric
Using light strokes, begin coloring the areas of the fabric you want to highlight. Start by gently filling in the sections closest to your embroidery stitches. You can use the crayon on both the fabric and the embroidery stitches if you want, but be cautious, as wax can build up on thread quickly.
For a soft gradient, layer different colors and blend them by gently rubbing with your finger. You can even add shadows or depth by using darker colors around the edges of shapes or under the embroidery stitches.
Step 4: Set the Color with Heat
To set the crayon color, place a white sheet of paper or a thin cloth over the colored areas of your fabric. With your iron set to medium (no steam), press over the paper gently. The heat will melt the crayon wax slightly, bonding it with the fabric fibers and making the color permanent.
Move the iron over the fabric in a circular motion, being careful not to linger in one spot to avoid overheating the wax. The paper will absorb any excess wax, leaving a softer color effect on the fabric.
Step 5: Optional: Apply a Textile Medium
For added durability, especially if you plan to wash the fabric often, consider applying a textile medium over the crayon-colored areas. Follow the instructions on the product, as it may require heat-setting with an iron. This step is optional but can help ensure the colors stay vibrant over time.

Tips and Tricks for the Best Results
- Layer Colors: Start with lighter shades and build up with darker tones for a more dimensional look. Blending multiple colors can create beautiful shading.
- Practice on a Scrap Piece: Test the crayon color and melting technique on a scrap piece of fabric to ensure you’re happy with the effect before applying it to your embroidery.
- Try Out Different Brands: Experiment with different brands of crayons. High-quality crayons often contain more pigment, which may yield richer colors and smoother application.
How to Care for Crayon-Colored Embroidered Fabric
Once finished, treat your crayon-colored embroidery with care. Avoid machine washing if possible, as frequent washes may cause the color to fade over time. Instead, hand-wash gently in cold water with mild detergent, or simply spot-clean. Avoid direct sunlight, which can fade both the thread and crayon colors.
Creative Project Ideas for Crayon-Colored Embroidery
Here are some ways you can incorporate crayon coloring into your embroidery projects:
- Floral Designs: Add subtle petal colors and green leaves to your floral embroidery for a soft, realistic effect.
- Animal Embroidery: Bring your animal designs to life with light shading on fur or feathers.
- Landscape Scenes: Create depth in embroidered landscapes by adding colored backgrounds with crayons.
- Lettering: Use crayons to fill in letters or add shadowing, which can make your words stand out beautifully on fabric.
Final Thoughts
Using crayons to color your embroidered fabric is a fun, creative technique that opens up a world of design possibilities. It’s a great way to personalize your fabric art without needing advanced techniques or extensive materials. So grab some crayons and start experimenting—you’ll be amazed at how crayons can transform your embroidered pieces into soft, whimsical works of art.
Ningbo Changxiang Stationery Co., Ltd. is a professional and leading company which is specialized in manufacturing and exporting crayons in China.Welcome to Contact at andy@nbsicai.com.

